In order to detect the connected receiver type make sure the receiver is bound to the transmitter and sending out signals. Also make sure the transmitter is setup correctly as shown in the chapter [[Manuals:MBPlusFblV5:Radio_System/en|Radio System]]. Press the "Scan" button to start automatic receiver detection routine. The Status-LED on the device and the display will indicate which type the system is scanning for at the moment. When a valid input signal was detected the receiver type will be set automatically and a dialog will appear in case a single-line receiver is used. This asks how to proceed with function assignments. When a Standard receiver is used the system will restart directly and you can leave the setup screen as there . When detection fails once again make sure your receiver is connected properly to MICROBEAST PLUS, bound to the transmitter and sending out control signals and try again.<br />
In order to detect the connected receiver type make sure the receiver is bound to the transmitter and sending out signals. Also make sure the transmitter is setup correctly as shown in the chapter [[Manuals:MBPlusFblV5:Radio_System/en|Radio System]]. Press the "Scan" button to start automatic receiver detection routine. The Status-LED on the device and the display will indicate which type the system is scanning for at the moment. When a valid input signal was detected the receiver type will be set automatically and a dialog will appear in case a single-line receiver is used. This asks how to proceed with function assignments. When a Standard receiver is used the system will restart directly and you can leave the setup screen as there . When detection fails once again make sure your receiver is connected properly to MICROBEAST PLUS, bound to the transmitter and sending out control signals and try again.<br />
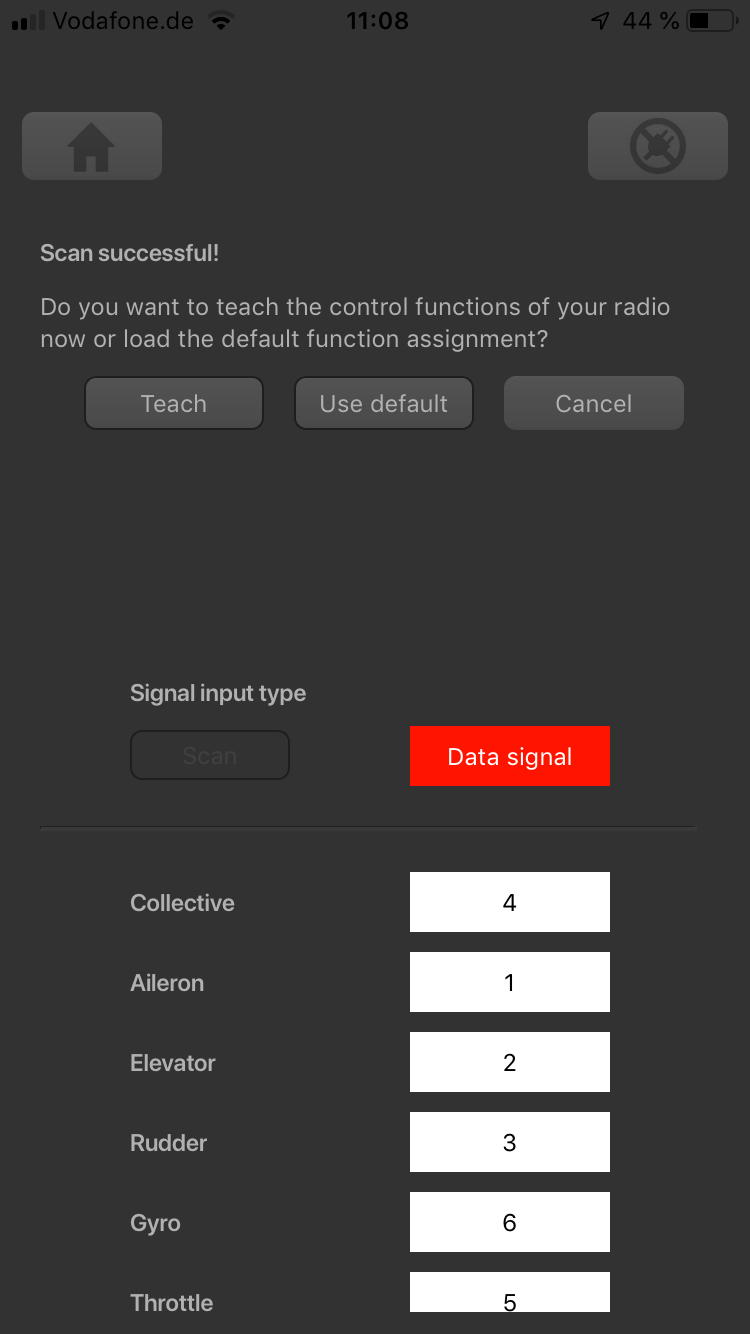
<div class="iostext">If scan was successful the dialog will show up</div>
+
</div>
+
<br />
<br />
<br />
Latest revision as of 17:04, 10 July 2019
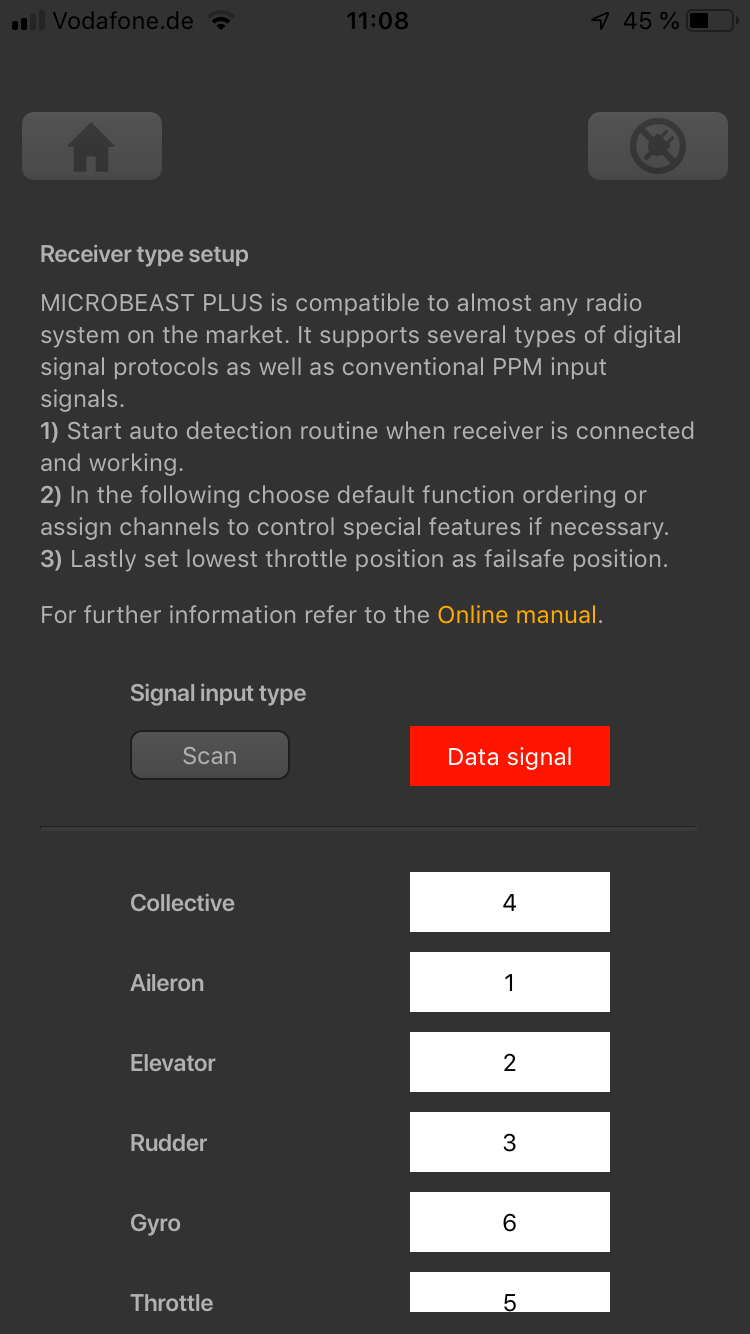
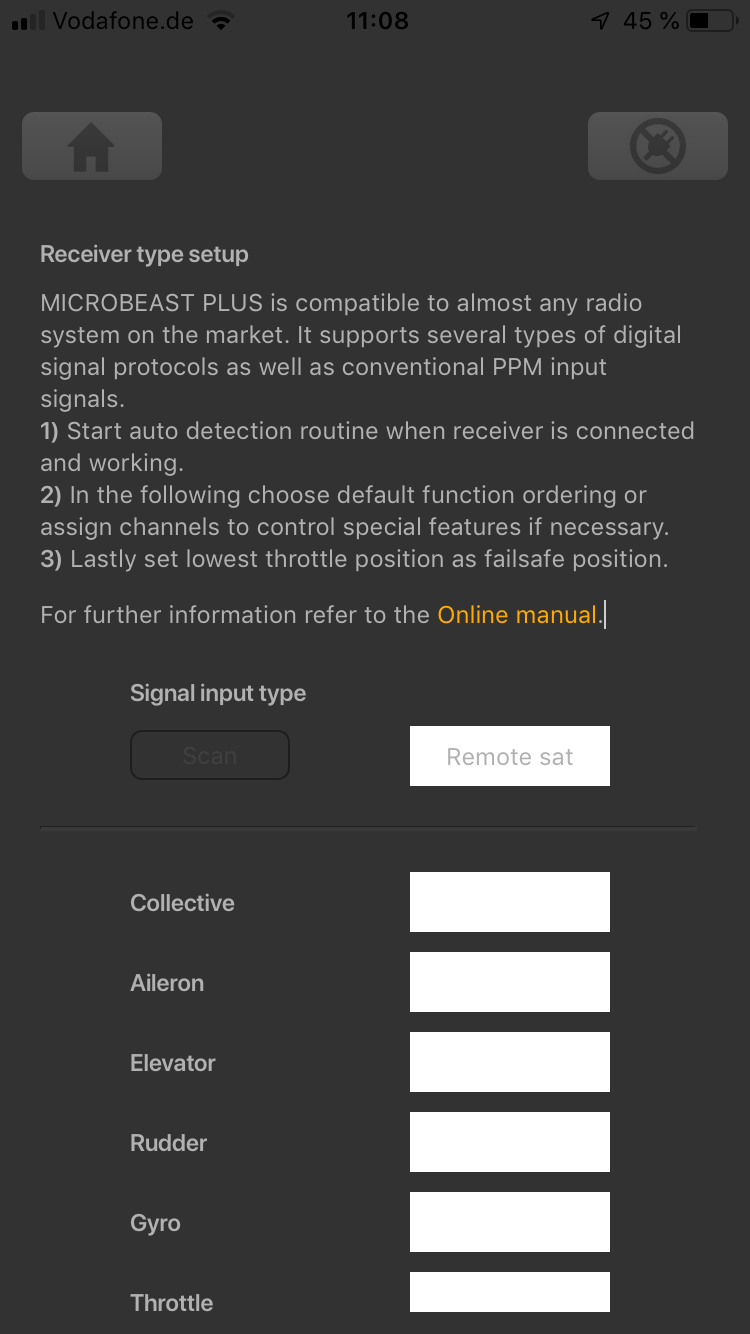
Receiver type
In order to detect the connected receiver type make sure the receiver is bound to the transmitter and sending out signals. Also make sure the transmitter is setup correctly as shown in the chapter Radio System. Press the "Scan" button to start automatic receiver detection routine. The Status-LED on the device and the display will indicate which type the system is scanning for at the moment. When a valid input signal was detected the receiver type will be set automatically and a dialog will appear in case a single-line receiver is used. This asks how to proceed with function assignments. When a Standard receiver is used the system will restart directly and you can leave the setup screen as there . When detection fails once again make sure your receiver is connected properly to MICROBEAST PLUS, bound to the transmitter and sending out control signals and try again.