MICROBEAST PLUS RPM Governor - How to setup a Castle Creations ESC/en: Difference between revisions
Importing a new version from external source |
Importing a new version from external source |
||
| Line 12: | Line 12: | ||
{| | {| | ||
|style="vertical-align:top"|[[File:Talon_01.jpg|200px|thumb]] | |style="vertical-align:top"|[[File:Talon_01.jpg|200px|thumb]] | ||
|[[File:Talon_02.jpg|200px|thumb|Of course we don't need the brake function for Airplanes!]] | |[[File:Talon_02.jpg|200px|thumb|Of course we don't need the brake function for Airplanes!]] | ||
|} | |} | ||
Revision as of 14:52, 29 July 2016
Please note that you must use a single-line receiver. The RPM Governor function is not applicable when a conventional (multi-wire) Standard receiver is used!
Setup using the CastleLink Software
The RPM Governor function of MICROBEAST PLUS firmware version 4.0.0 does work very well with Castle Creations ESCs. The Castle Creations Phoenix EDGE series provide a separate rpm signal output, so despite the firmware with governor function there is nothing else needed to connect your ESC to MICROBEAST PLUS. When using a Castle Talon, ICE, ICE2 or similar ESC you additionally need to buy a rpm phase sensor, i.e.the BEASTX phase sensor BXA76013, so that MICROBEAST PLUS can detect the motor speed/rotor head speed of your helicopter. To connect and supply the rpm sensor with power you will also need the sensor adapter BX76401.
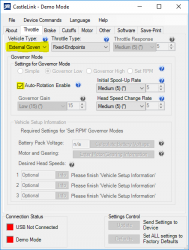
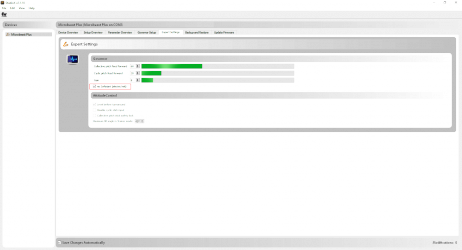
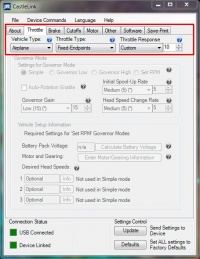
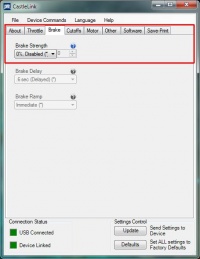
The Castle Creations ESC offer a special "External Governor" mode to be used with flybarless systems. This mode has an integrated soft start and autorotation bailout function. If your MICROBEAST PLUS/AR7210BX is updated to firmware version 4.2.x or higher you can use this mode, but it is required to disable the soft start feature of the device using the Expert Parameters section in the StudioX Software (see section below for further details). Otherwise, do not use this mode. By default MICROBEAST PLUS / AR7210BX will do all the motor control logic including initial soft start on its own! For this you have to setup the Castle ESC to a very simple throttle control mode which is offered by using the fixed wing "Airplane" mode as "Vehicle type" in combination with a very fast throttle response:
 |
 |
Alternatively you may use the "Multi-Rotor" vehicle type, in case your ESC offers this option. This will provide a very fast and immediate throttle control and thus provide maximum performance of the MICROBEAST's RPM Governor. Adjusting throttle response and brake function is not necessary here and not provided. Please note that this mode doesn't feature any dynamic limitation. Depending on the motor this can cause very high current spikes and overheating of the motor. Only use at your own risk!
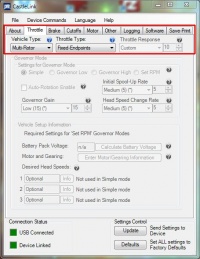
The rest can be setup as you like resp. as it is needed for your motor:
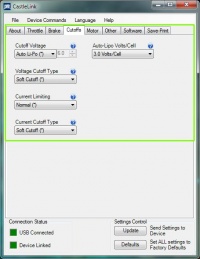 |
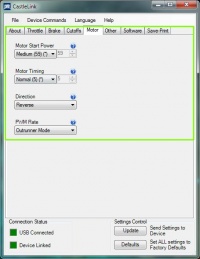 |
When using a Castle EDGE controllers with the provided rpm signal cable, make sure the "Auxiliary wire mode" is set to "RPM out". Otherwise there will not be any rpm signal on this wire:
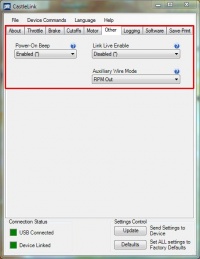
Transmitter setup (endpoint adjustment)
Before you can use your Castle Creations ESC you must adjust your transmitters throttle range so that it'll fit to the ESC's throttle range. Later onwards we will also set this throttle range at the MICROBEAST PLUS unit.
(1) First of all make sure you have a standard linear throttle curve from 0 - 100% in your transmitter and that your servo endpoints are reaching from -100% to +100%. In this example we're using a Spektrum DX9, for your transmitter these values maybe somehow different. Basically what you need is a standard throttle control as you get when using a new model memory in the transmitter. Make sure you can control the throttle by watching the throttle channel movement on the transmitter's servo monitor.
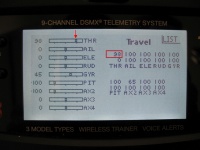
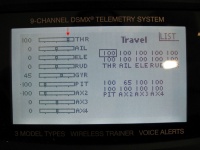
(2) Now reduce the throttle channel output by setting the endpoints to 0% (or close to zero) so you barely get any movement on the throttle channel when moving the thrust stick. If this is done move the thrust stick all the way up and only now connect your ESC to the flight battery. You will hear a "bleep" tone from the ESC (motor), followed by a row of short tones indicating the number of cell count. Then there will be no more additional tone.
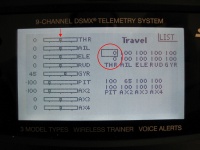
(3) Increase the servo endpoint for throttle channel into the full throttle direction just until you will hear another "bleep" tone. In this case you the ESC will signalize that it has detected full throttle position. Increase the enpoint for about 2% as safety margin.
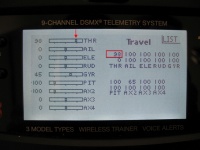
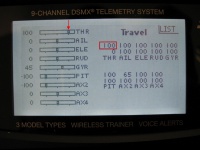
Warning! If you hear a row of two "bleep" sounds, the ESC signalizes that low throttle position has been detected. Now the ESC is armed!! Do not proceed any further. Disconnect the flight battery, reverse your throttle channel direction using the servo reverse function in the transmitter and start with the adjustment procedure at (2).
(4) Bring the thrust stick all the way down to full stop position. When reaching center position you will again hear some short "bleep" sound. Increase the servo endpoint in full stop direction. When the ESC detects correct stop position now it will emit a double tone "bleep" "bleep". Again increase the enpoint for about 2% as safety margin and that's it. Now we can proceed with setting up the MICROBEAST RPM Governor function.
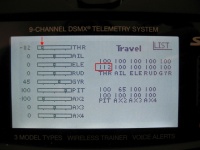
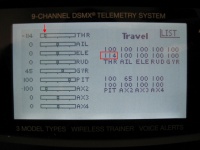
Warning! The ESC is armed now!! Do not move the thrust stick any more. Otherwise the motor will start to run.
Failsafe setup
(1) Open the MICROBEAST PLUS Setup menu by pushing and holding down the button for about 2 seconds, until the yellow LED A starts to constantly light up. Then release the button. Now repeatedly press the button until menu point N (LED N) is reached.
(2) At Setup menu point N switch the Status LED color to "red" in order to select the electric governor mode. Then again briefly press the button.
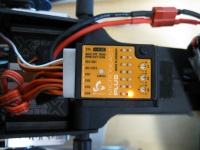
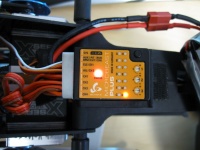
(3) Proceed at Governor menu point A as described in the MICROBEAST PLUS ProEdition manual.
(4) At menu point B again carefully decrease the throttle servo endpoint for throttle low stick position. The motor should start to run immediately when deacreasing the throttle a few percent. If it does, increase the endpoint by a few percent, so the motor will stop again. You can see that the Status LED on MICROBEAST PLUS changed to blue colour indicating that the adjustment has been detected.
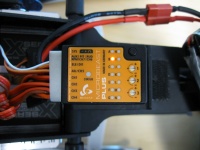
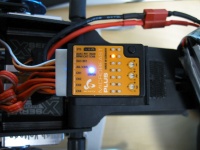
(5) Switch to menu point C by briefly pressing the button and move the thrust stick all the way up. Again the Status LED will light up in "blue" as MICROBEAST PLUS will save the new throttle high position. Confirm by pressing the button briefly.
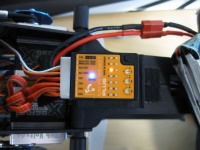
(6) Last step of transmitter setting is to setup your throttle curves resp. the desired rpms for the different flight phases. When moving the thrust stick at menu point D you can see the colour of the Status LED changing: at full stop position it's off, when increasing the throttle slightly it will get blue, it will be red over nearly the whole rest of the throttle range and lastly at full throttle position it'll get purple. So adjust your throttle curves using the indication of the LEDs.
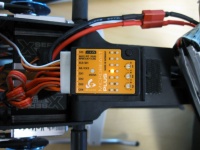
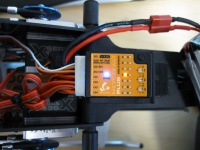
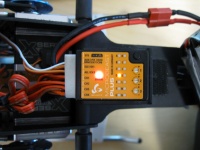
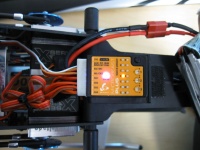
In normal flight mode set the curve flat to 0, so the motor can't start when powering up.
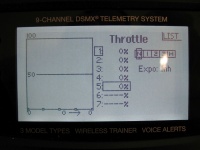
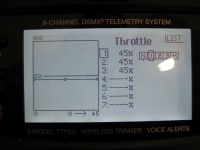
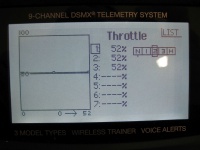
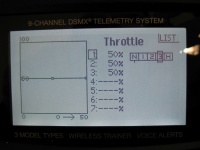
Set flat throttle curves for the other flight modes as high as necessary to gain a specific rotor head speed according to the throttle tables shown in the MICROBEAST ProEdition Addon manual. In this example we use 1800rpm = 45%, 2080rpm = 52% and 2000 rpm = 50%. The Status LED should light up in "red" colour when switching to those flight modes.
For Autorotation bail out set the throttle curve to a flat 10%. The Status LED should light up in "blue" when Autorotation switch is enabled.
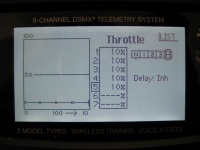
That's it. Switch back to your normal mode (motor off!) and proceed with the following steps E, F, G, H as described in the MICROBEAST PLUS ProEdition manual. After exiting the menus you can do a little bench test. When switching to idle up the motor should start to run slowly, then after a short time of stabilization the rpm will increase more forceful (it is not unusual that without rotor blades or with main gear removed the motor may run erratic or the rpm may pump a little bit during spoolup because of the unloaded condition!). If it takes very long time (a few seconds) until the motor starts to initially run or if it doesn't start to run at all, you have to readjust the throttle low point at Governor menu point B. Typically the distance between motor off and motor start position is too large then and as the integrated RPM Governor will not increase the throttle without any limitation for safety reason, the actual motor starting point of the ESC will not be reached.
Using Firmware Version 4.2.x or higher and "External Governor" mode
With MICROBEAST PLUS / AR7210BX Firmware Version 4.2.x or higher it is possible to use the "External Governor" mode of your Castle Creations ESC. This will allow to let the ESC do the initial rotor spool up as well as the quick spool up after an auto rotation maneuver and can result in a softer motor start/less motor torque than when powering up the motor in "Fixed wing" mode as this is optimzed for turning air screws. For this purpose you must disable the soft start feature on the MICROBEAST PLUS / AR7210BX which can be done using the Expert Parameter tab in StudioX. Basically the setup procedure is very similar as already shown above, just you need to change a few parameters by software.
Now proceed as described above:
- First define throttle endpoints in the transmitter. This must be done even if you've done it already before in "Fixed wing" or "Multirotor" mode, as in "External Governor" the endpoints will be slightly different!
- Then open MICROBEAST's Receiver setup menu, assign functions and set the low throttle failsafe position in case your low throttle value changed in the transmitter.
- Finally do the complete Governor Setup or at least teach new throttle low and high point to MICROBEAST PLUS / AR7210BX if the Governor mode was already in use before with a different firmware version and another ESC operation mode.
