Translations:Manuals:MB Plus:Preliminary steps/2/de: Difference between revisions
Shornstein (talk | contribs) No edit summary |
Shornstein (talk | contribs) No edit summary |
||
| (11 intermediate revisions by the same user not shown) | |||
| Line 12: | Line 12: | ||
<div class="onlyinprint"> | <div class="onlyinprint"> | ||
{| | {| | ||
|[[Image:450 flat.jpg| | |[[Image:450 flat.jpg|x180px]] | ||
|[[Image:450 upright.jpg| | |[[Image:450 upright.jpg|x180px]] | ||
|} | |} | ||
</div> | </div> | ||
| Line 27: | Line 27: | ||
<div class="onlyinprint"> | <div class="onlyinprint"> | ||
{| | {| | ||
| [[Image: | |[[Image:Blank_30.png]] | ||
| [[Image:Mounting_trex500.jpg | |[[Image:Mounting_trex500.jpg]] | ||
|} | |} | ||
[[Image:Blank.png|none]] | |||
</div> | </div> | ||
{{NL}} | {{NL}} | ||
| Line 49: | Line 50: | ||
</gallery> | </gallery> | ||
</p> | </p> | ||
{{NL}} | |||
Latest revision as of 12:39, 19 November 2015
Einbau des MICROBEAST PLUS
Befestigen Sie MICROBEAST PLUS mit einem der beiliegenden 3M® Klebepads an einer möglichst vibrationsarmen Stelle in Ihrem Helikopter (z.B. auf der Kreisel- oder Empfängerplattform). Abhängig vom Vibrationspotential des Helikopters kann auch ein anderes, geeigneteres Klebepad für die einwandfreie Funktion notwendig sein. Bei Fragen hierzu wenden Sie sich bitte an Ihren MICROBEAST PLUS Fachhändler.
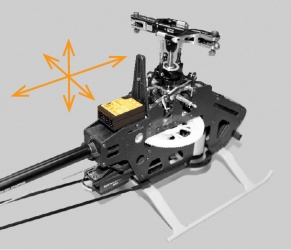
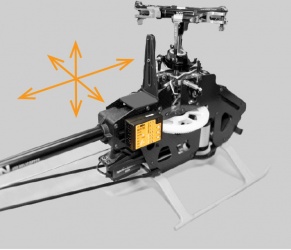
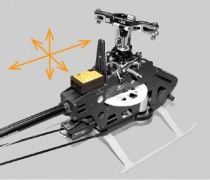
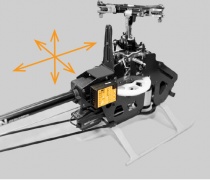
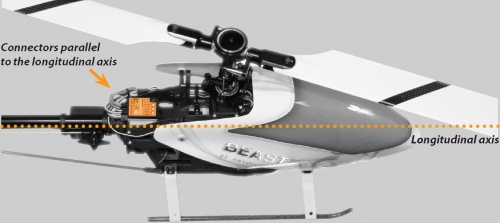
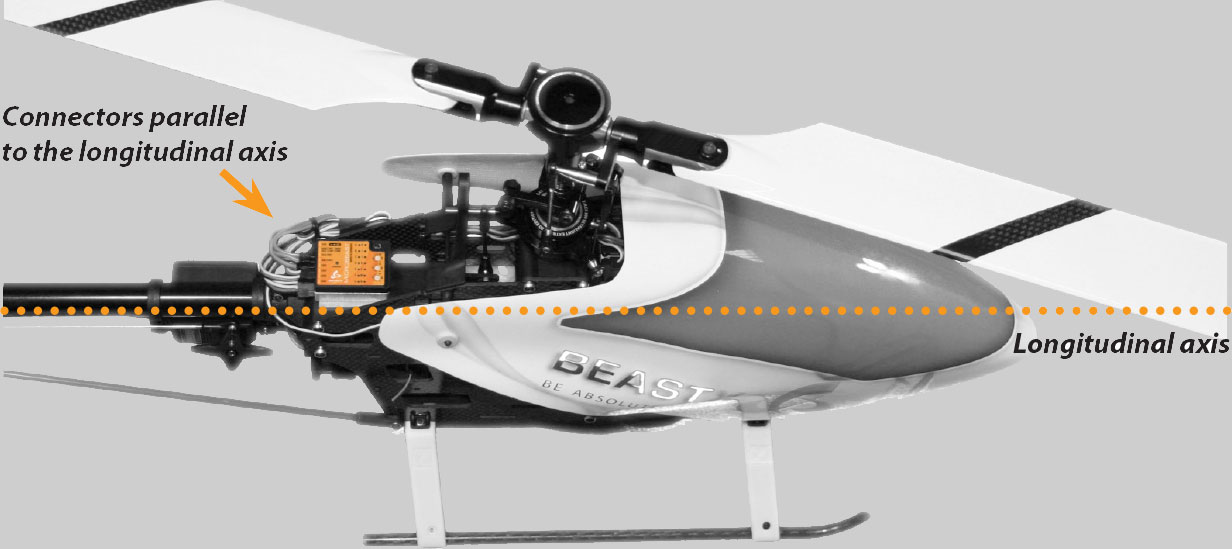
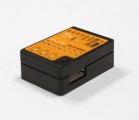
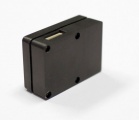
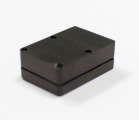
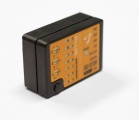
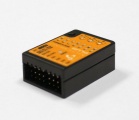
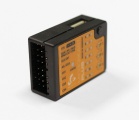
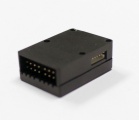
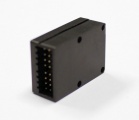
Der Einbau des MICROBEAST PLUS kann wahlweise flach oder hochkant erfolgen, auch verkehrt herum unter dem Helikopter. Die Stecker der Anschlusskabel müssen aber immer in oder gegen die Flugrichtung des Helikopters zeigen. Die kleine weiße Sensoranschlussleiste muss immer längs zur Flugrichtung sein.
Achten Sie darauf, dass die Gehäusekanten von MICROBEAST PLUS absolut parallel zu den Drehachsen des Helikopters ausgerichtet sind und der Montageort auf der Roll- und Nickachse winkelrichtig zur Hauptrotorwelle ist! Es ist hingegen nicht unbedingt notwendig, dass das Gerät genau auf den Drehachsen montiert wird (dies ist praktisch nahezu unmöglich).
Es ergeben sich acht mögliche Einbaulagen:
-
flach, Deckel oben, Servoanschlussleiste zeigt zur Spitze
-
hochkant, Taster oben, Servoanschlussleiste zeigt zur Spitze
-
flach, Deckel unten, Servoanschlussleiste zeigt zur Spitze
-
hochkant, Taster unten, Servoanschlussleiste zeigt zur Spitze
-
flach, Deckel oben, Servoanschlussleiste zeigt zum Heck
-
hochkant, Taster oben, Servoanschlussleiste zeigt zum Heck
-
flach, Deckel unten, Servoanschlussleiste zeigt zum Heck
-
hochkant, Taster unten, Servoanschlussleiste zeigt zum Heck
