Manuals:MB Plus:Setupmenu J: Difference between revisions
Shornstein (talk | contribs) No edit summary |
Shornstein (talk | contribs) No edit summary |
||
| Line 6: | Line 6: | ||
<br /> | <br /> | ||
[[Image:Heli_sideview.png|x150px|border]]<br /> | [[Image:Heli_sideview.png|x150px|border]]<br /> | ||
<br /> | |||
[[Image:Heli_topview.png|x150px|border]]<br /> | [[Image:Heli_topview.png|x150px|border]]<br /> | ||
<br /> | <br /> | ||
Revision as of 16:17, 9 September 2015
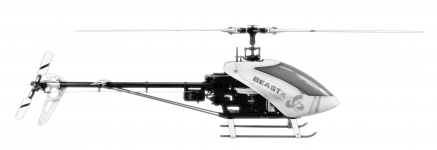
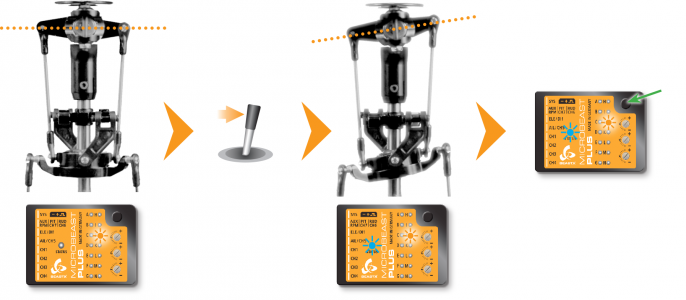
At Setup menu point J you have to teach MICROBEAST PLUS the cyclic pitch ratio. First don‘t touch any stick on your transmitter when entering Setup menu point J. Orientate the rotor blades (or one of the rotor blades when using a rotorhead with more than two blades) so that they are parallel to the tail boom. The swashplate should be in the neutral position and the blades should have 0 degrees of pitch (if this is not the case repeat the swashplate servo centering at Setup menu point G). Then attach a pitch gauge to one of the rotor blades on the longitudinal axis to measure aileron pitch from the front or from behind the heli.


Move and hold the aileron stick to one direction until the rotor blade has an exact 6 degrees of cyclic pitch, then release the stick. If you moved the swashplate too far you can steer the stick to the opposite direction and reduce the pitch. The direction you choose is not important, what is important is that you keep the position steady on 6° when you save and leave this menu point. Do not go to 6° and then move back before saving and leaving.

When reaching 6 degrees, the Status-LED should light blue. This indicates that your helicopter‘s rotor head geometry is perfect for the use with a flybarless system. Otherwise, if the Status-LED‘s color is red or purple or even if the Status-LED is off, this indicates that your helicopter‘s geometry is not optimal for flybarless usage. Correct this by using shorter servo horns, shorter linkage balls on the inner swashplate ring or longer blade grip link levers.
Always set the cyclic pitch to 6 degrees! This setup does not affect the maximum rotation rate of the helicopter but is only there to show and teach MICROBEAST PLUS the actual mechanical cyclic geometry and to estimate servo throws. A wrong adjustment at this step may be extremely detrimental to the performance of MICROBEAST PLUS. The blue color of the Status-LED is secondary and just for information. Do not try to get a blue Status-LED by any means. For example if the LED only lights up red when the pitch is set to 6° then use this adjustment anyway but keep in mind that your helicopter‘s head geometry is not perfect. Do not adjust 7° for instance just because the Status-LED does become blue there!
By moving the rudder stick to one direction you can also delete the adjustment and reset the swashplate back to 0 degrees, e.g. to readjust your pitch gauge.
Note: This menu item will not be left automatically after 4 minutes, so you have plenty of time to adjust the mechanical setup.
Push the button to save the configuration and to proceed to Setup menu point K.