Driver installation
Microsoft Windows
1. Automatic driver installation
The driver installation will not be launched automatically during setup. After installation of the StudioX software bundle Windows should install the correct drivers when the USB2SYS / SPMA3030 inteface is plugged in the PC for the first time or when the RX2SIM Multi-Sim Adapter is switched to USB2SYS emulation mode (see RX2SIM manual). Check the notifications in the right corner of your task bar:
2. Validate installation
If the driver installation fails, you may see an error message with a red cross next to the device icon:

In this case you have to install the driver files manually which will be described in the following step 3.
If you did not see any message popping up at all, check you Windows device manager if the interface driver has been installed correctly. To access the device manager under windows 7 type devmgmt.msc in the Startmenu's search bar. Alternatively you can enter the computer properties by pressing and holding the START key on the keyboard and addtionaly pressing the PAUSE key. Then click on device manager in the upper left corner of the appearing window.

You must be able to find following entry:
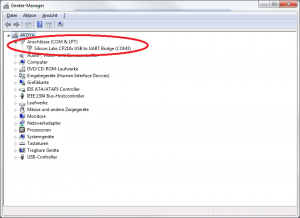
The name COM3 may be different on your PC. This entry must disappear when you disconnect the Interface from the PC and re-appear when you connect it again.
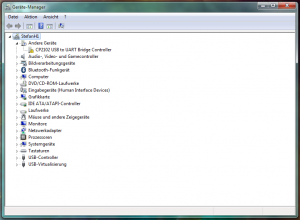
If there is only an entry marked with an yellow "!" something went wrong and you have to install the driver files manually which will be described in the following step 3.
3. Manual installation of interface driver First of all make sure the USB2SYS interface is disconnected from the computer. Then start the StudioX Software and click the download link for the USB2SYS driver package:
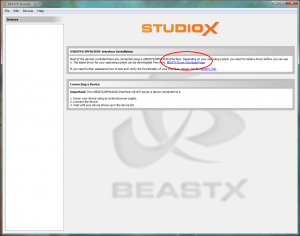
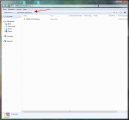
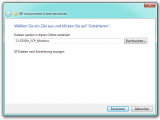
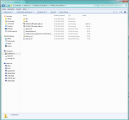
Your web browser will open and ask to save the file "CP210x_VCP_Windows.zip" or will save it automatically. Open the downloaded zip-file from the folder where it has been saved to and extract the content of the file to your harddisk (here we extracted it to drive C:). Go to the extracted folder and start one of the included setup files (if you have a 64-bit Windows use the "CP210xVCPInstaller_x64.exe", if you have a 32-bit system use CP210xVCPInstaller_x86.exe).
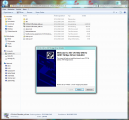
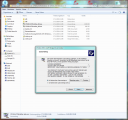
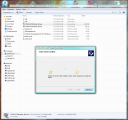
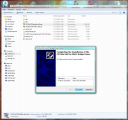
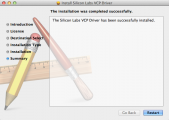
Proceed through the installer by accepting the license agreement and clicking "Next" and "Install".
When the installation was finished, connect the USB2SYS / SPMA3030 / RX2SIM interface to the computer (again).
That's it, your interface should now appear correctly in device manager (see above) and you can use the assigned COM port to connect to your MICROBEAST / Ar7xxxBX device.
Apple MacOS
First of all make sure the USB2SYS / SPMA3030 / RX2SIM interface is disconnected from the computer. Then start the StudioX Software and click the download link for the USB2SYS driver package:

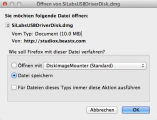
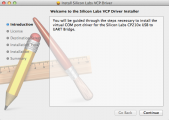
Your web browser will open and ask to save the disk image "Silicon Labs VCP Driver Install Disk.dmg" or will save it automatically. Mount and open the downloaded image from the folder where it has been saved to. Then open the included "Silicon Labs VCP Driver Installer".
(If you can't open the installer by double click due to security permissions, right click on it and choose "Open". Then confirm the appearing message and the installer will start.)
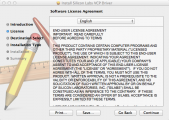
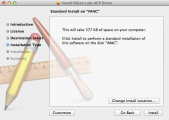
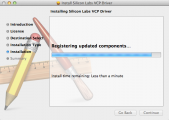
Proceed through the installer by accepting the license agreement and clicking "Continue" and "Install".
When the installation was finished, connect the USB2SYS / SPMA3030 / RX2SIM interface to the computer and restart the computer. With RX2SIM Multi-Sim Adapter additionally make sure that it is switched to USB2SYS emulation mode (see RX2SIM manual).


