Setup menu point M
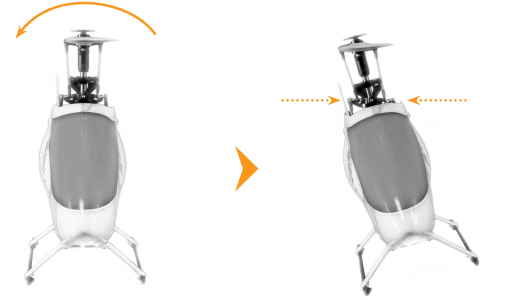
At Setup menu point M you check if the sensors for aileron and elevator are measuring the correct direction. This can be directly verified in this menu point when you roll or tilt the helicopter by hand. The swashplate has to steer against the rotational movement:
When tilting the helicopter forward the swashplate has to move backwards, when tilting the helicopter to the back, the swashplate has to compensate forward. Same thing applies to the roll axis: when you roll the helicopter to the left the swashplate has to steer right and vice versa. Basically the swashplate has to remain horizontal all the time while banking the helicopter.
If this is not correct, you can reverse the gyro directions by moving the rudder stick into one direction. For confirmation you will see that the Status-LED changes color. Repeat reversing directions step by step until the correction on both axis is working as expected. There are four possible displays to choose from, one of them will give the correct swash movement:
| Status-LED | Swash gyro compensation (Elevator - Aileron) |
|---|---|
| off | reversed - reversed |
| purple | reversed - normal |
| red | normal - reversed |
| blue | normal - normal |
Once again repeat the test as described above. MICROBEAST PLUS should now correct in the right way. Check this function painstakingly as wrong gyro compensation will cause the helicopter to tip over and crash when trying to takeoff!
Note: The sensor direction colors may differ between different BEASTX devices and different MICROBEAST/MICROBEAST PLUS firmware versions. Therefore the Status-LED colors should be used as reference for one device with one specific firmware version only. We highly recommend not to rely on the Status-LED color when transfering setups from one device to another. Always check sensor directions manually!
When the RPM Governor feature is installed on your unit and you're using a single-line receiver, push the button to save the configuration and to proceed to Setup menu point N. Otherwise pushing the button will end the Setup menu adjustment and you will get back into operation mode.

