SETUPMENÜ A - Einbaulage
Das MICROBEAST PLUS kann in nahezu jeder Einbaulage am Heli montiert werden. Zu beachten ist nur, dass die Stecker der Anschlusskabel immer in oder gegen die Flugrichtung des Helikopters zeigen müssen und dass die Gehäusekanten des Geräts perfekt parallel zu den Drehachsen des Helis ausgerichtet sind.
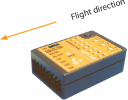 Status LED off |
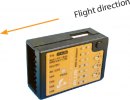 Status LED blinkt violett |
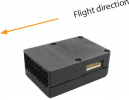 Status LED violett |
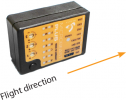 Status LED blinkt rot |
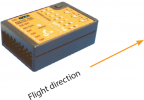 Status LED rot |
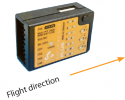 Status LED blinkt blau |
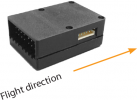 Status LED blau |
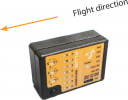 Status LED rot/blau |
Adjustment at the device
Select the orientation that the device is actually mounted on your heli by choosing the suitable Status LED color. You can switch between the options by briefly moving the rudder stick to one or the other direction. The Status-LED will change the color accordingly.
| Status-LED | Device orientation |
|---|---|
| off | flat, sticker on top side, socket points in flight direction |
| purple flashing | vertical, button is on the top, socket points in flight direction |
| purple | flat inverted, sticker on bottom side, socket points in flight direction |
| red flashing | vertical inverted, button is on the bottom, socket points in flight direction |
| red | flat, sticker on top side, socket points to the tail boom |
| blue flashing | vertical, button is on the top, socket points to the tail boom |
| blue | flat inverted, sticker on bottom side, socket points to the tail boom |
| red/blue | vertical inverted, button is on the bottom, socket points to the tail boom |
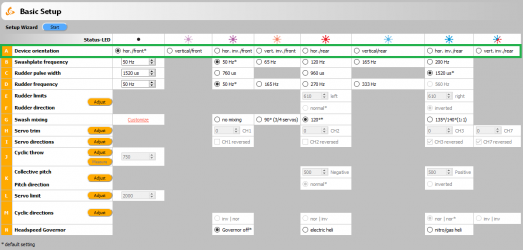
Setup with StudioX
Choose the orientation that the device is actually mounted on your heli by checking the suitable button.
Setup with StudioXm
Choose the orientation that the device is actually mounted on your heli by choosing the matching type in the app.
x250px