SETUP MENU B - Swashplate frequency
Setup menu point B is for selecting the servo update frequency (pulse rate) for the swashplate servos. To optimize the performance of MICROBEAST ULTRA the rule is: the higher the better! With high update rate the system will recalculate correctional movements more often and in consequence will send new commands to the servos with a higher frequency. This gives much higher precision in control and stabilization. Nevertheless, this will cause the servos to make more position changes at a given timeframe. In case your servo is not built for this kind of application this can cause high power consumption of the servos and cause the servos getting very hot. When this happens, reduce frequency immediately to prevent your servos from getting damaged. Only go as high as recommended by the servo manufacturer, or even lower when the servo is not capable of handling such high frequency in field use.
Notes:
- When using a servo that allows a higher frequency as MICROBEAST ULTRA offers or that allows a maximum frequency which is not choosable, please select the next lower frequency that is closest to the given frequency or set the exact frequency from the StudioX app.
- Using a lower frequency is always possible. Only high frequencies can damage the servo and/or will cause the servo to not work properly. Here you can find a list of parameters for the most common servos. Please understand that we can not list all servo types. We also can not guarantee the accuracy of this data. Ask the manufacturer of the servos or your servo dealer for detailed information.
- With high frequencies, some servos run in a jerky manner, especially the fast ones with coreless or brushless servos. This is due to the high update rate that the servo receives. This is not critical and will not impact flight performance.
If you do not know the maximum pulse rate tolerated by your servos do not select more than 50Hz driving frequency. A higher driving frequency can lead to failure of the servos!
Adjustment on the device
To select the desired servo frequency move the rudder stick repeatedly in one direction until the Status-LED lights in the correct color at SETUP MENU point B:
| Status-LED | Swashplate servo frequency |
|---|---|
| purple | 50 Hz |
| red flashing | 65 Hz |
| red | 120 Hz |
| blue flashing | 165 Hz |
| blue | 200 Hz |
Note: When you set a different frequency using the StudioX App the Status LED will be off. You can switch back to a preset setting by tapping the rudder stick as described, but this will remove your custom setting!
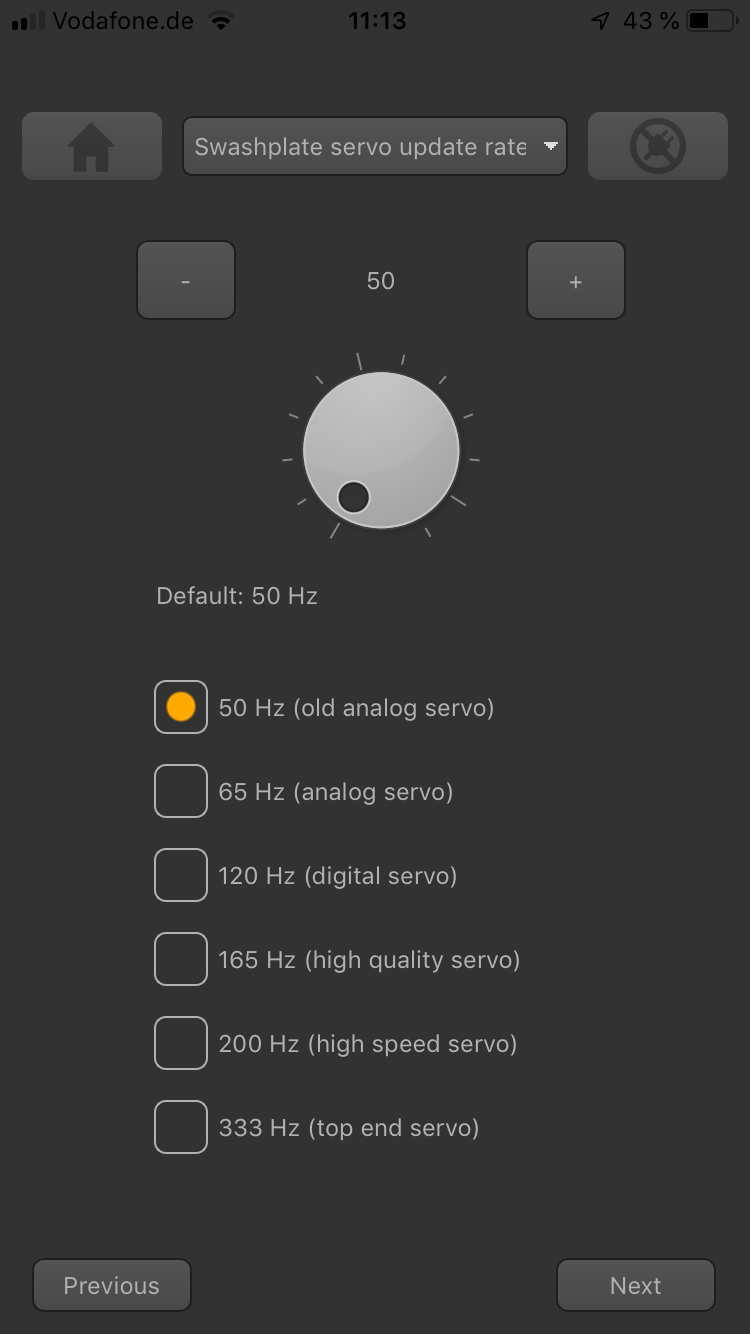
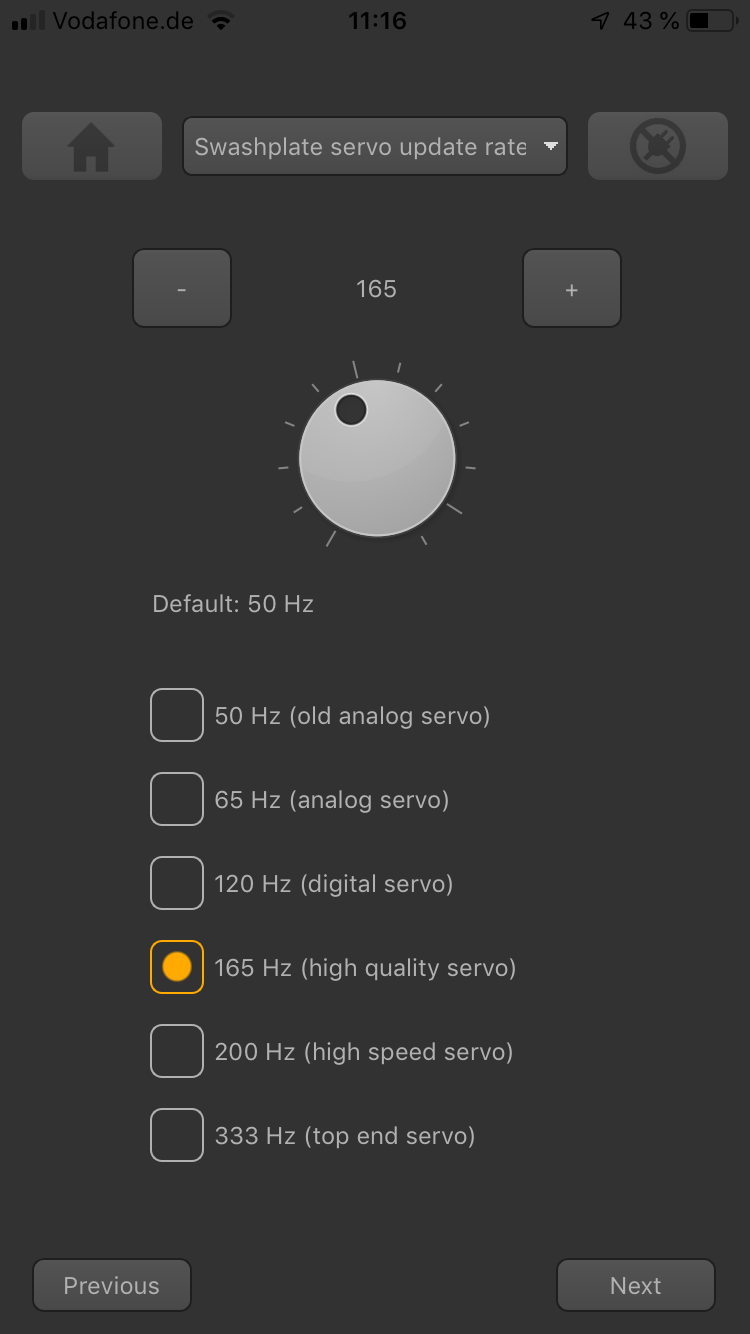
Setup with StudioX app
Choose a preset frequency by clicking one of the provided buttons for menu point B (Swashplate frequency) or set a custom frequency by directly changing the value with the dial or buttons. Using a custom frequency you can go up to 300Hz frame rate for the swash plate servos. This is plenty enough even for the fastest servos on the market.
Servo connection
After setting the correct update frequency plug in the swashplate servos, but do not install the servo horns yet as the servos could bind and get damaged on first power up!
 |
 |
- The elevator servo is always plugged into [CH1] port.
- With electronic swashplate mixing the two aileron servos have to be connected to [CH2] (=left) and [CH3] (=right).
- With a mechanical mixed head (H1-mixing) the aileron servo connects to [CH2] and the collective pitch servo to [CH3].
- When using a scale helicopter with 90 degrees eCCPM, you can connect a second elevator servo to [CH6] output on the MICROBEAST ULTRA. Note that CH6 only is a signal output, so you must power the servo from elsewhere, i.e. by getting power from the [SYS]-port using a Y-adapter (for + and - only!). Anyhow, with large scale helicopters we recommend to use a separate power distribution unit to which you connect the servos. This will be the better option in regards to robust and fail safe power distribution.
When you route the wire leads in your model make sure that there is no tension passed to the MICROBEAST ULTRA. Make sure that MICROBEAST ULTRA is able to move freely, so no vibrations get passed onto the unit by the wire leads. It is not recommended to bundle or tie down the leads close to the MICROBEAST ULTRA. On the other hand the wires must be attached so that they are unable to move the MICROBEAST ULTRA during the flight caused by g-force. In particular, do not use any shrink tubing or fabric hose to bundle or encase the wiring in close proximity to the point at which the cables are plugged into the MICROBEAST ULTRA. This makes the cables stiff and inflexible and can cause vibrations being transmitted to MICROBEAST ULTRA.