StudioXm:BackupRestore: Difference between revisions
Shornstein (talk | contribs) No edit summary |
Shornstein (talk | contribs) No edit summary |
||
| (One intermediate revision by the same user not shown) | |||
| Line 36: | Line 36: | ||
|- | |- | ||
| [[File:overview_backup_demorp.PNG|x300px]]Select the restore point you like to save to the file system and click "Export Restorepoint".<br /><br /><br /> | | [[File:overview_backup_demorp.PNG|x300px]]Select the restore point you like to save to the file system and click "Export Restorepoint".<br /><br /><br /> | ||
| [[File:overview_backup_demorp_export.PNG| | | [[File:overview_backup_demorp_export.PNG|x200px]]Choose the destination folder and enter a filename. The data will be saved with ending ".rsp". | ||
|}<br /> | |}<br /> | ||
<br /> | <br /> | ||
| Line 42: | Line 42: | ||
{| cellspacing="20" style="text-align: center; width: 300px; font-size: 80%;" | {| cellspacing="20" style="text-align: center; width: 300px; font-size: 80%;" | ||
|- | |- | ||
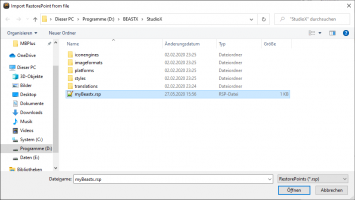
| [[File:overview_backup_demorp_import.PNG| | | [[File:overview_backup_demorp_import.PNG|x200px]]Click "Import Restorepoint" and choose the restorepoint file with ending ".rsp" from the location it is stored on your computer.<br /><br /><br /> | ||
| [[File:overview_backup_demorp.PNG|x300px]]In case the file was valid and can be used for your device, there should be a new entry in the list now. Select this new entry and flash it to your device by clicking "Load Restorepoint". | | [[File:overview_backup_demorp.PNG|x300px]]In case the file was valid and can be used for your device, there should be a new entry in the list now. Select this new entry and flash it to your device by clicking "Load Restorepoint". | ||
|}<br /> | |}<br /> | ||
| Line 54: | Line 54: | ||
| [[File:Backup_restore_reset.png|x300px|none]]Click the "Reset" button and confirm the question "Are you really sure?". Now all settings are set to default and you have to perform the basic setup again, in order to fly the helicopter. | | [[File:Backup_restore_reset.png|x300px|none]]Click the "Reset" button and confirm the question "Are you really sure?". Now all settings are set to default and you have to perform the basic setup again, in order to fly the helicopter. | ||
|}<br /> | |}<br /> | ||
{{QUOTE|'''Please note:''' The factory reset will not change your receiver settings (receiver type, function assignments, failsafe settings). This simply can be changed by doing the receiver setup procedure in RECEIVER MENU.}}<br /> | {{QUOTE|'''Please note:''' The factory reset will not change your receiver settings (receiver type, function assignments, failsafe settings). This simply can be changed by doing the receiver setup procedure in RECEIVER MENU (button '''CONTROLS''' in StudioX).}}<br /> | ||
<br /> | <br /> | ||
</translate> | </translate> | ||
Latest revision as of 14:53, 10 June 2024
Preset helicopter settings
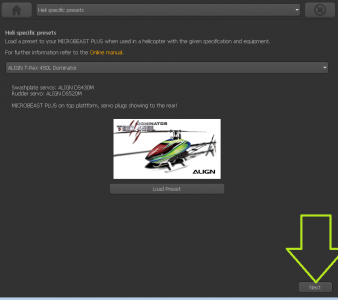
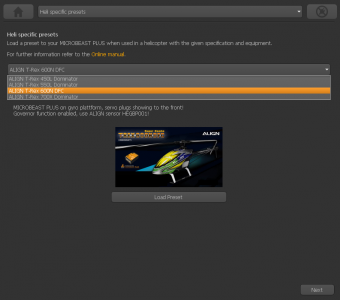
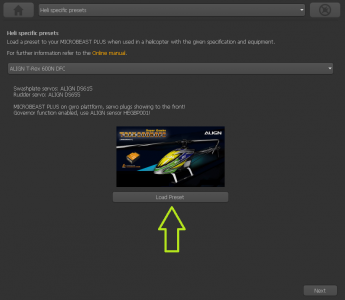
For a given set of helicopters StudioX offers preset setups. In case you have the exact same helicopter with similar electronic setup (i. e. servos, ESC, ...) you can load the preset for your helicopter to your BEASTX flybarless device. So it is not necessary to go through the basic setup routine as your device will be readily setup by loading the preset. Anyhow, you must make sure your radio setup is done properly and that all control commands on the radio are working as expected. Also it may be nessary to readjust the servo center positions, either using the quick adjust option in PARAMETER MENU or the single trimm option of SETUP MENU. Last but not least it is absolutely mandatory that your BEASTX device is mounted in the exact same position is defined by the given preset. Otherwise the correction of the system will go into the wrong direction. In case your device is mounted differently, you must check and readjust device orientation in SETUPMENU!
 |
 |
Backup/Restore
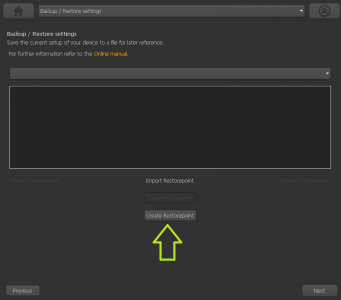
With StudioX you can save your current device settings and load them to your device again, i. e. when you like to test the effect of some parameters and you want switch back to the former setup. With the StudioX software for PC and macOS it is also possible to export those backups to the computer's file system. So you can share your settings with other pilots.
Creating a restore point
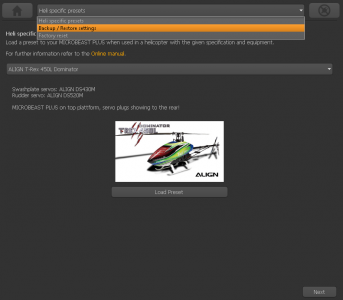
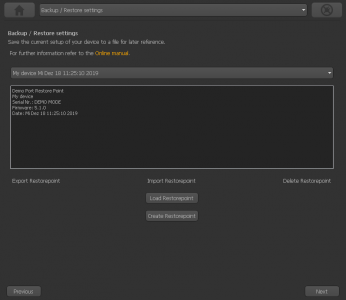
You will find the option for saving your setup on the next screen behind the heli presets. Please click "Next" in the lower right corner on the screen where you see the Align helis, or choose backup/restore from the selection box above in the middle.
Exporting a restore point to the file system
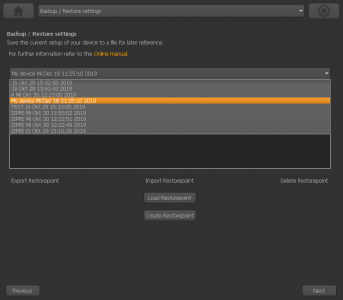
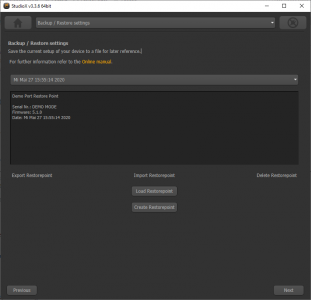 Select the restore point you like to save to the file system and click "Export Restorepoint". Select the restore point you like to save to the file system and click "Export Restorepoint". |
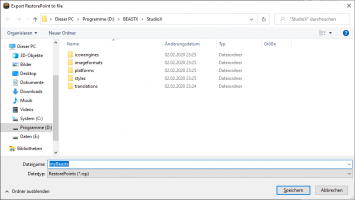 Choose the destination folder and enter a filename. The data will be saved with ending ".rsp". Choose the destination folder and enter a filename. The data will be saved with ending ".rsp".
|
Import a restore point from the file system
Reset all settings
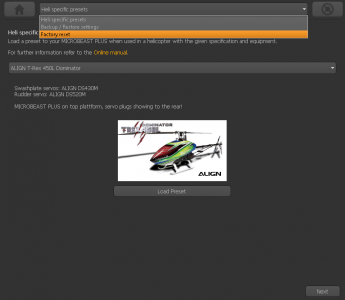
You will find the reset option by choosing "Backup/Restore" from the overview screen in StudioX (which opens when connection is established to your BEASTX device). From there click the "Next" button two times or directly choose "Factory reset" from the selection box above to open the reset screen.
 |
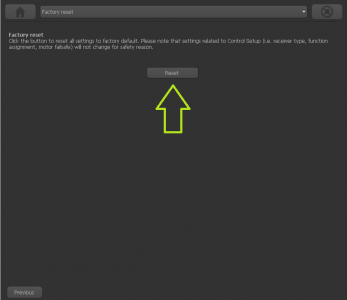 |
Please note: The factory reset will not change your receiver settings (receiver type, function assignments, failsafe settings). This simply can be changed by doing the receiver setup procedure in RECEIVER MENU (button CONTROLS in StudioX).
